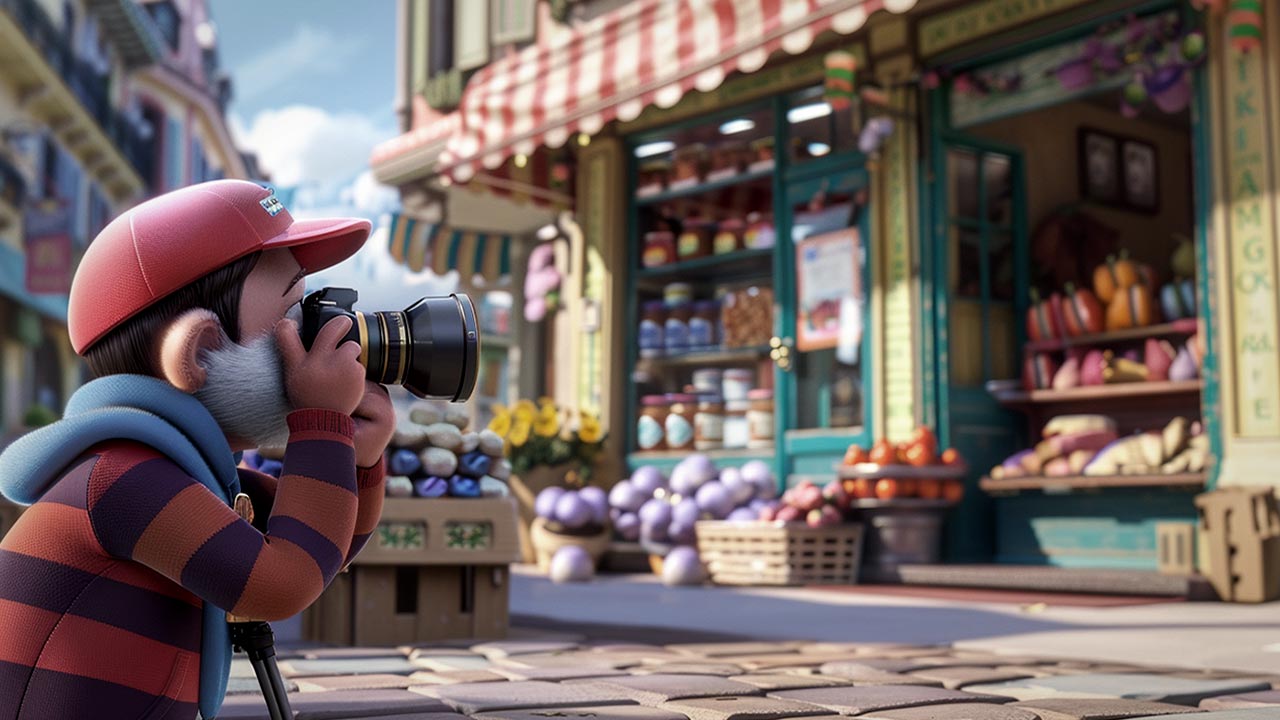
DIY Photography for Business Promotion and Marketing
DIY photography has emerged as a cost-effective solution for small businesses and startups that want to stand out in a competitive market. The quality of your business’s visual content can significantly influence customer perception. With the right techniques, tools, and strategy, you can create compelling visuals that resonate with your audience and elevate your brand.
Table of Contents
- Why Photography is Essential for Business Marketing
- Essential Equipment for DIY Photography
- Tips for Taking High-Quality Photos
- Using Photography in Marketing Campaigns
- Common Mistakes to Avoid in DIY Photography
Why Photography is Essential for Business Marketing
Building Brand Identity
A picture speaks a thousand words, but in business, it also conveys values, professionalism, and trustworthiness. Consistent, high-quality images help establish a recognizable brand identity, creating a lasting impression on your audience.
Engaging Your Target Audience
Images are more likely to grab attention than text. Studies reveal that visual content gets 94% more views than text-based content. Eye-catching photography can attract clicks, drive traffic, and encourage social shares, amplifying your reach organically.
Essential Equipment for DIY Photography
Camera Options
- Smartphones: Modern smartphones offer excellent photography capabilities. Brands like Apple and Samsung feature advanced modes like portrait, night mode, and even RAW capture.
- Entry-Level DSLRs: If you want more control, consider an entry-level DSLR like the Canon EOS Rebel series or Nikon D3500. These cameras offer interchangeable lenses and manual settings for advanced photography.
- Mirrorless Cameras: Lightweight and powerful, models like the Sony Alpha series deliver professional-quality results.
Lighting Tools
Good lighting can make or break your photos. Consider the following tools:
- Ring Lights: Perfect for portraits and small product photography.
- Softbox Lights: Provide diffused light, reducing harsh shadows.
- Natural Light: Budget-friendly and effective for outdoor or window-lit setups.
Editing Software
Enhance your photos with software like:
- Adobe Lightroom: Ideal for color correction and adjustments.
- Canva: A beginner-friendly tool with templates for social media.
- Snapseed: A free mobile app offering professional-grade editing.
Tips for Taking High-Quality Photos
Composition Techniques
- Rule of Thirds: Divide your frame into thirds and position your subject along the lines for balanced composition.
- Leading Lines: Use natural lines in the environment to guide the viewer’s eye.
- Negative Space: Allow empty space to emphasize your subject.
Lighting Mastery
- Golden Hour: Shoot during the early morning or late afternoon for soft, warm light.
- Avoid Harsh Shadows: Use reflectors or softboxes to balance out lighting.
- Experiment with Angles: Light your subject from different angles to find the most flattering look.
Brand Consistency
Maintain consistent colors, styles, and themes across your photos to reinforce your brand identity. Use a branded backdrop, props, or color palettes that align with your logo and website design.
Using Photography in Marketing Campaigns
Social Media
Photos dominate platforms like Instagram and Facebook. Share behind-the-scenes shots, product images, or lifestyle photos to connect with your audience. Add captions that tell a story and encourage engagement.
Website and E-commerce
High-resolution images of your products from multiple angles can increase conversions. Include lifestyle images that show your products in use, helping customers visualize their value.
Email Campaigns
Add visually striking images to newsletters and promotions to make them more engaging. Personalized images, such as customer testimonials paired with photos, can boost click-through rates.
Common Mistakes to Avoid in DIY Photography
- Overediting: Excessive filters or effects can make your photos look artificial.
- Ignoring Resolution: Low-quality images can make your brand appear unprofessional.
- Cluttered Backgrounds: Keep your scenes clean and focused on the subject.
- Poor Lighting: Dark or overly bright photos detract from the subject.
- Inconsistent Style: Random styles or themes can confuse your audience.
![]()


