Studio One Pro for Beginners
Studio One Pro by PreSonus is a professional-grade digital audio workstation (DAW) designed to empower musicians, producers, and audio engineers. Its intuitive interface, powerful features, and seamless workflow make it a favorite among users at all skill levels. For beginners, Studio One Pro provides an excellent entry point into music production, thanks to its drag-and-drop interface, flexible tools, and robust ecosystem.
Whether you’re capturing audio, arranging compositions, or mastering tracks, this guide will help you get started with confidence.
Table of Contents
- System Requirements and Installation
- User Interface Overview
- Setting Up Your First Project
- Capturing Digital Audio Sources
- Editing and Mixing Basics
- Exporting and Sharing Your Work
- Top 5 Frequently Asked Questions
- Final Thoughts
- Resources
System Requirements and Installation
Minimum and Recommended Specifications
To ensure smooth performance, check your system compatibility before installing Studio One Pro:
Minimum Requirements:
- OS: Windows 10 (64-bit) or macOS 10.13 or later
- Processor: Intel Core i3 / AMD A10
- RAM: 4 GB
- Storage: 40 GB free disk space
Recommended Specifications:
- OS: Latest version of Windows or macOS
- Processor: Intel Core i7 / AMD Ryzen
- RAM: 8 GB or more
- Storage: SSD for faster performance
Installing and Activating Studio One Pro
- Download the Installer: Purchase and download the software from the PreSonus website.
- Install the Software: Run the installer and follow the on-screen instructions.
- Activate Your License: Log in to your PreSonus account to activate Studio One Pro.

User Interface Overview
Studio One Pro’s interface is divided into three main sections:
Start Page
The Start Page is your hub for recent projects, software updates, and system settings. It also provides access to tutorials and PreSonus resources.
Song Page
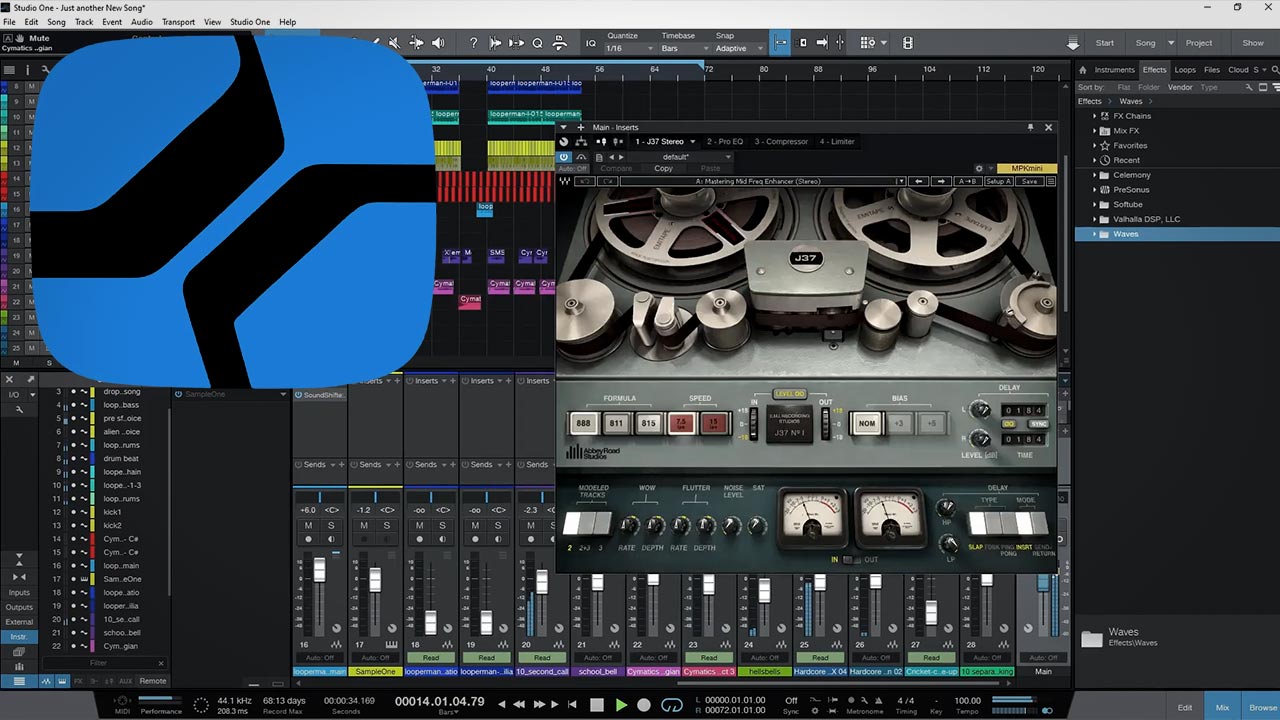
The Song Page is the primary workspace for recording, editing, and mixing. It includes the arrangement view, mixer, and track inspector.
Project Page
The Project Page is for mastering and finalizing your tracks. It allows you to apply finishing touches, create fades, and export your projects.

Setting Up Your First Project
Configuring Audio Devices
- Open Studio One Pro and navigate to Preferences > Audio Setup.
- Select your Audio Interface from the device list.
- Configure the input/output (I/O) channels to match your hardware setup.
Creating a New Song
- Click New Song on the Start Page.
- Choose a template (e.g., Empty Song, Band Recording).
- Set your sample rate and bit depth for optimal quality (44.1 kHz / 24-bit recommended).

Capturing Digital Audio Sources
Understanding Input/Output (I/O) Setup
Proper I/O configuration ensures your audio is routed correctly:
- Go to Song > Setup > Audio I/O Setup.
- Assign physical inputs (e.g., microphones, instruments) to virtual channels in Studio One Pro.
Recording Vocals and Instruments
- Create an Audio Track: Click Track > Add Track > Audio.
- Arm the Track: Enable the red recording button.
- Set Input Source: Assign the appropriate microphone or instrument input.
- Record: Press the record button in the transport bar and start performing.
MIDI and Virtual Instruments
Studio One Pro includes a range of virtual instruments like Impact XT and Presence XT. To record MIDI:
- Add an Instrument Track: Select Track > Add Instrument Track.
- Load a Virtual Instrument: Drag an instrument from the Browser into the track.
- Play and Record: Use a MIDI controller or your computer keyboard to input notes.

Editing and Mixing Basics
Editing Tracks
- Cut, Copy, and Paste: Use standard keyboard shortcuts for basic edits.
- Quantize: Align MIDI notes or audio clips to the grid for perfect timing.
- Automation: Add volume, pan, or effect automation for dynamic control.
Using Effects and Plugins
Studio One Pro supports VST, AU, and PreSonus Native plugins. To add effects:
- Drag an effect from the Browser to a track or bus.
- Adjust parameters in the plugin interface.
- Use the Insert Effects section to manage your effects chain.
Mixing Essentials
- Balance Levels: Use the mixer to adjust track volumes.
- Pan Tracks: Position sounds in the stereo field for depth.
- Apply EQ and Compression: Shape the tone and dynamics of your audio.

Exporting and Sharing Your Work
Once your project is complete:
- Go to Song > Export Mixdown.
- Choose your desired format (e.g., WAV, MP3) and export settings.
- Click OK to render your track.

Top 5 Frequently Asked Questions
Final Thoughts
Studio One Pro offers an intuitive yet powerful platform for beginners in digital music production. From setting up your first project to recording, editing, and mixing, this DAW streamlines the entire process with its user-friendly interface and advanced features. By mastering basics like capturing digital audio, configuring I/O settings, and applying effects, you can create professional-quality music and develop your production skills.
Remember, the key to success is consistent practice and exploration of the tools Studio One Pro provides.


Leave A Comment